Useful Tip:
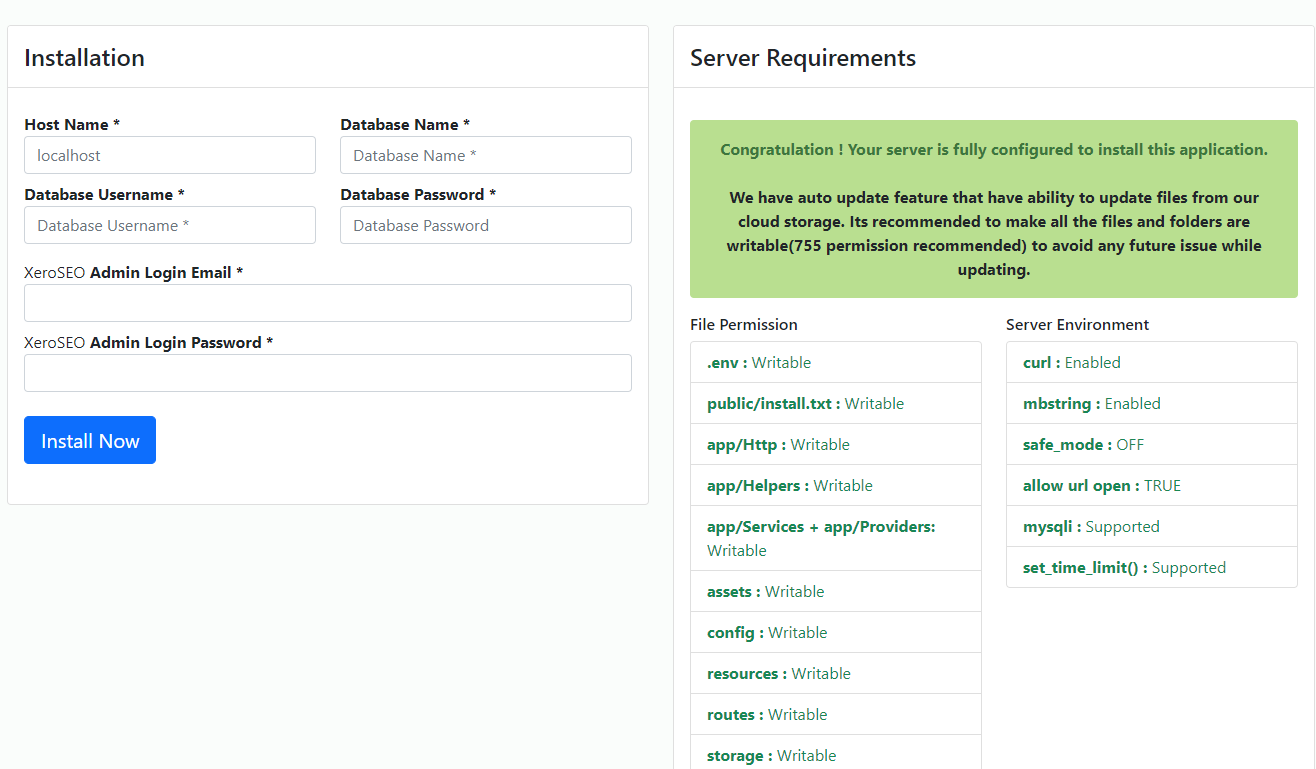
[Note: If you get "404 page not found" error then make AllowOverride in your virual host.]
[Note: If you get "404 page not found" error then make AllowOverride in your virual host.]
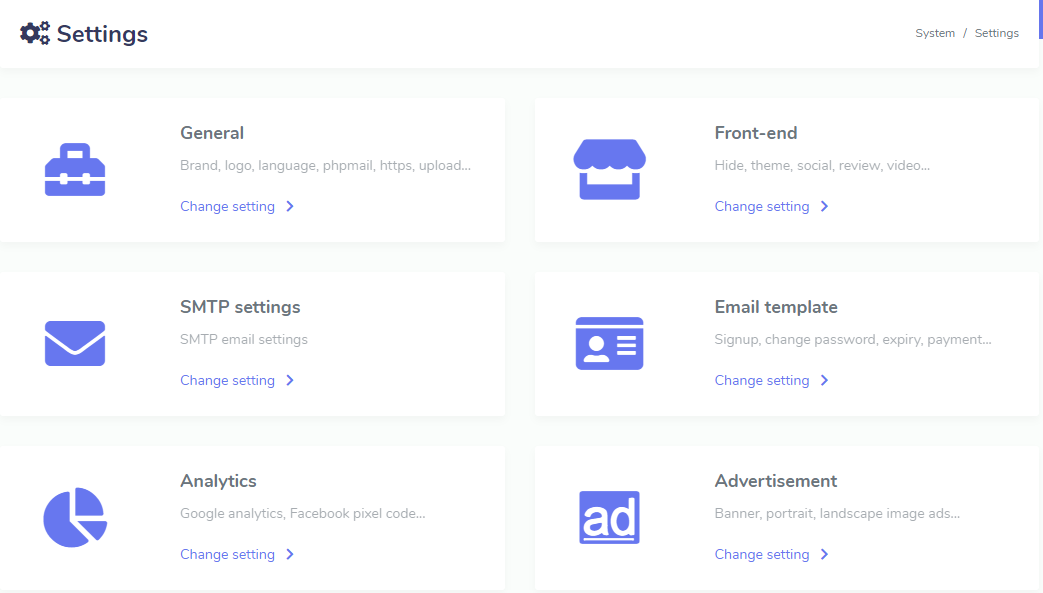
Here you will get all the system setting that you want to customize as you need. We are offering you as much customization of this system as possible. This section is devided into six sub-section.
This section offers you to change settings in these sections: General, Front-end, SMTP, Email, Analytics, Advertisement
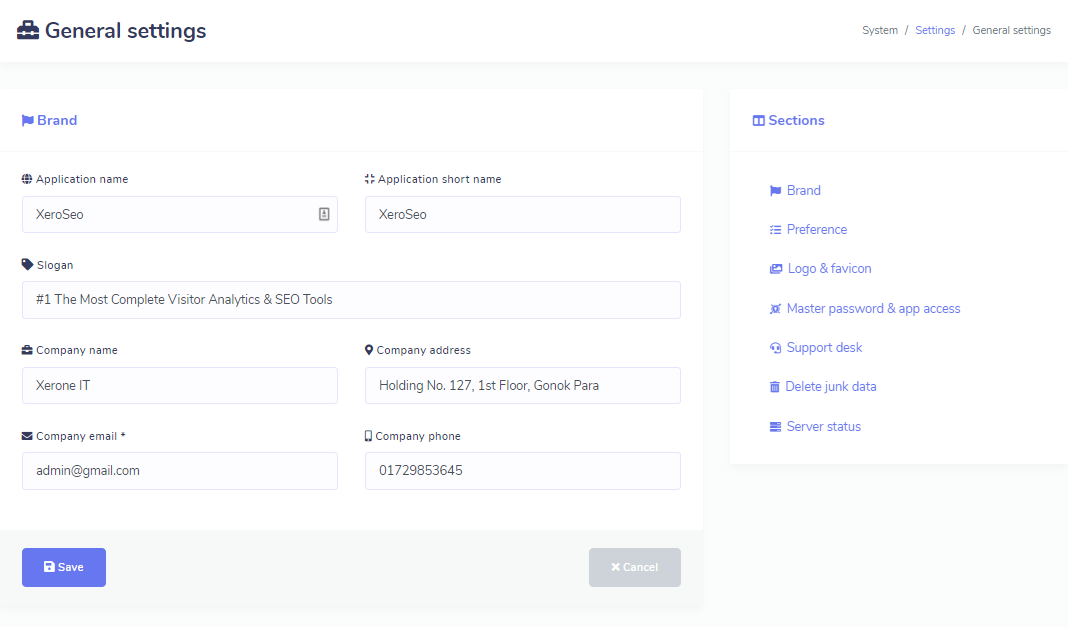
General [Only Admin]:
Brand : Here you can setup your app name, company name etc branding information.
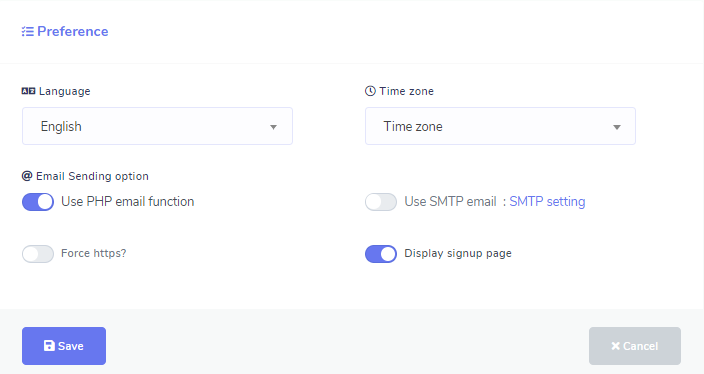
Preference : You can set system email function, it can be php mail or you can setup your smtp profile. You can force to use HTTPS and also can enable disable signup system. You can setup system default time zone and locale.
Logo & Favicon : Upload your system logo and favicon.
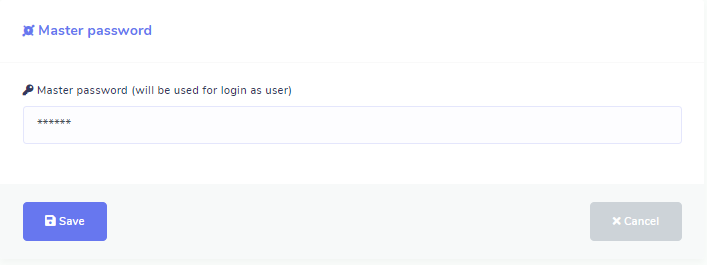
Master Password & App access : Set a master password and you can use this password to login as any user (except admin). You can give access to users to use their own Facebook app instead of using your app.
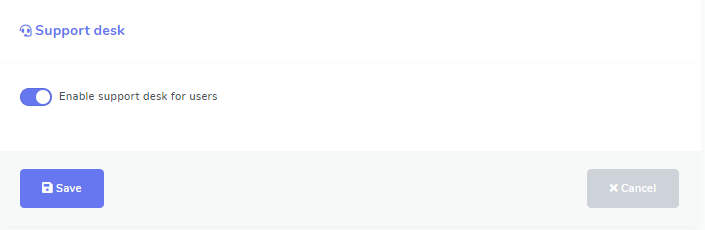
Support Desk (extended license) : Extended license provides a support desk to manage user issues. However, you can enable/disable support desk from here.
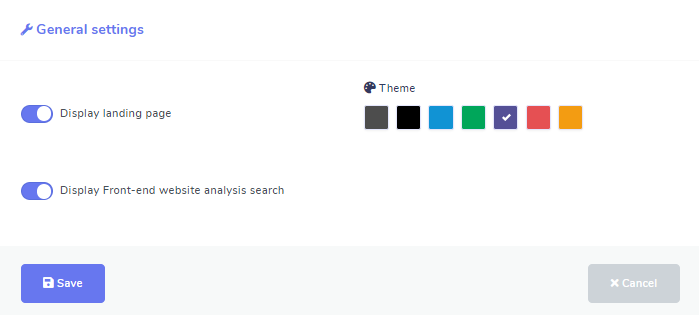
This awesome software also now have an buli-in eye-catching landing page which is fully dynamic and can be controlled from this settings area.
You can choose if you want landing page or not. If you select Display Landing Page as No then login page will be the default page.
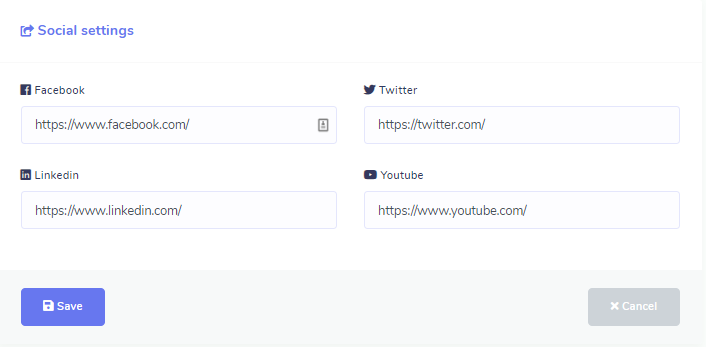
If you do not want social links to show up then keep the social links blank.
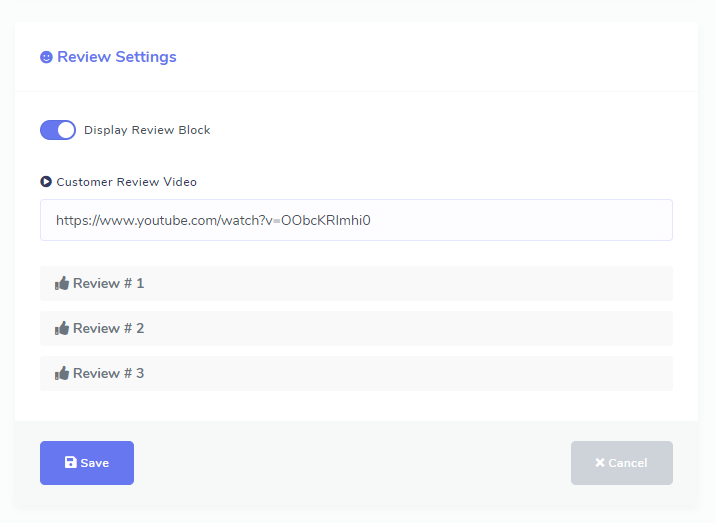
If you choose Display Review Block as No then customer review section will be hidden from landing page. Put youtube watch url if you want to show a review video, keep it blank if you do not want it, it will be hidden then.
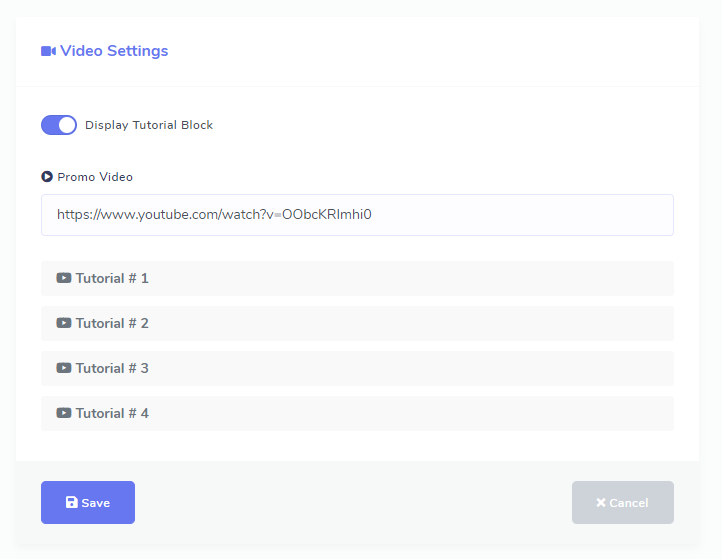
If you choose Display Tutorial Block as No then tutorial section will be hidden from landing page. Put your tutorial title,thumbnail url & youtube watch url to affect the landing page.
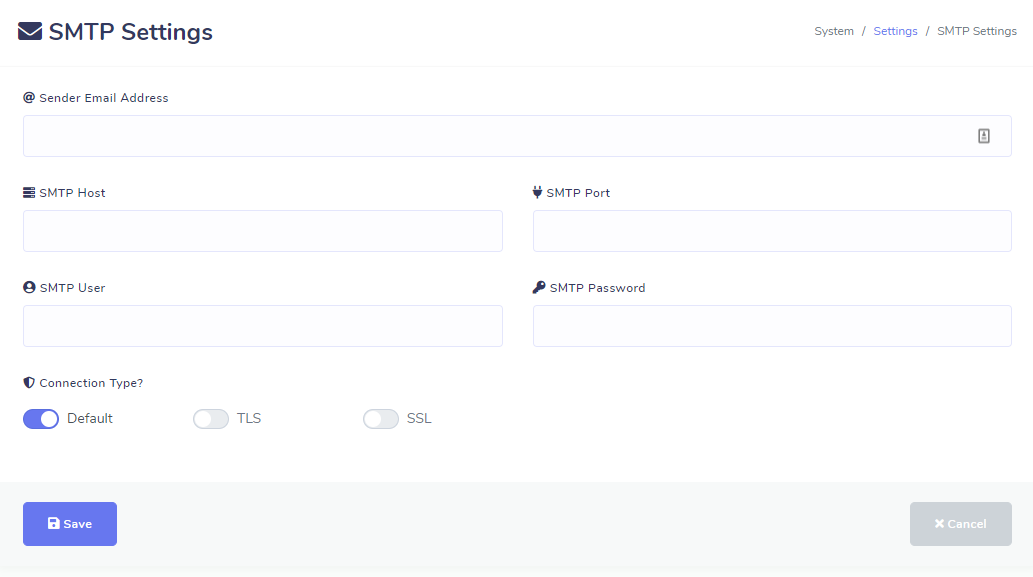
This is the place to configure system email.
You can add any SMTP email provider here. There are three stmp types : Default, TLS and SSL. Default option is for non-SSL smtp. You will find your smtp configuration in your cpanel.
These settings will be used to send system emails like forget password, contact, send notification etc. Adding SMTP is not enough to start sending message using it, you have to enable SMTP email feature from general settings as well.
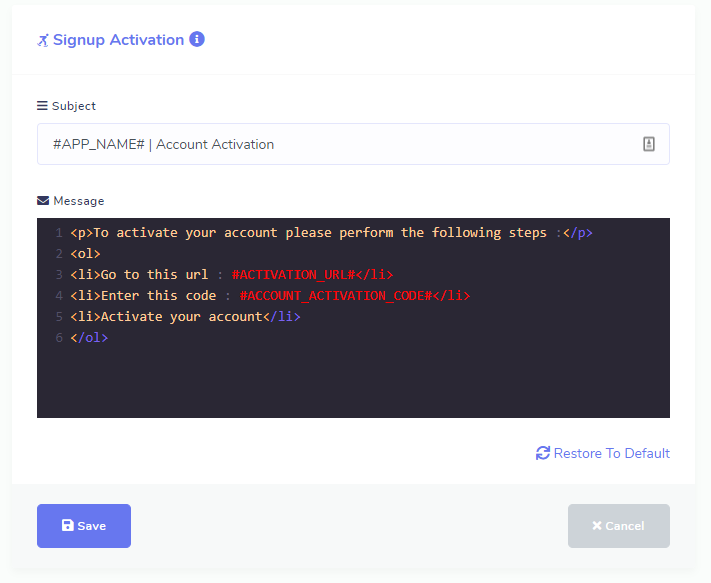
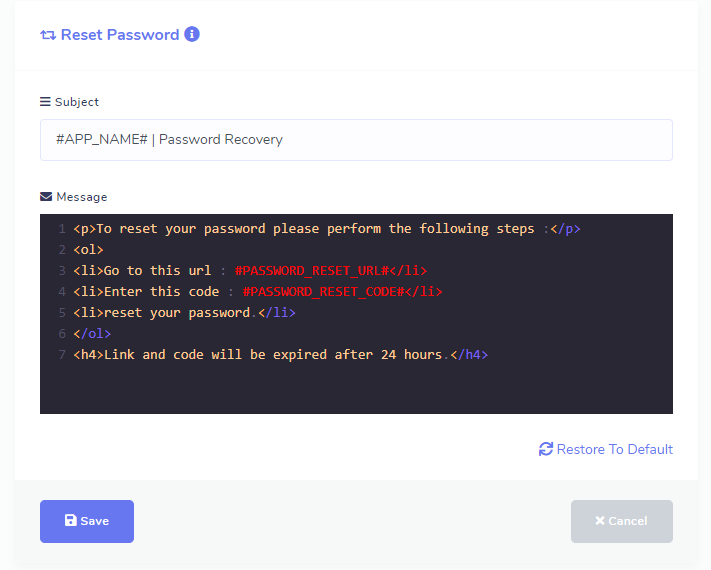
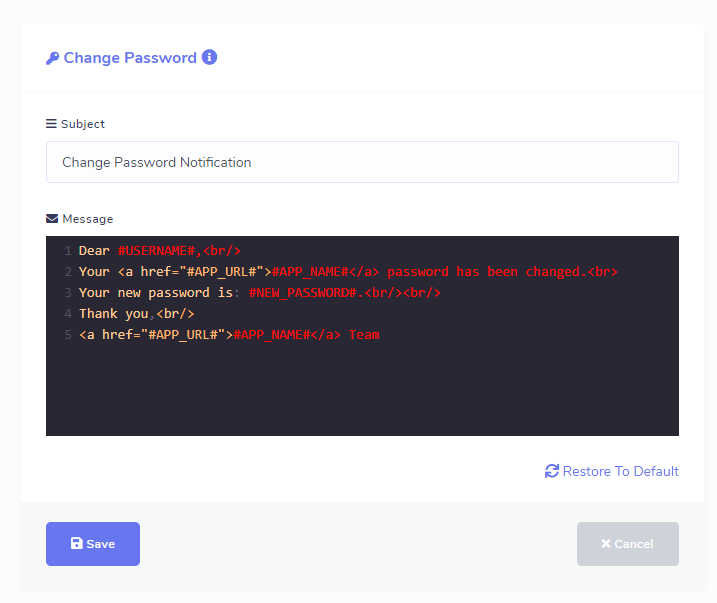
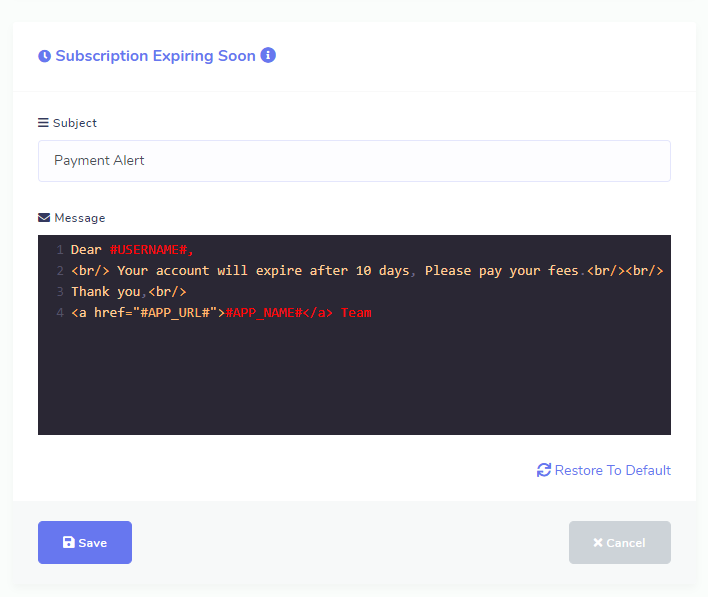
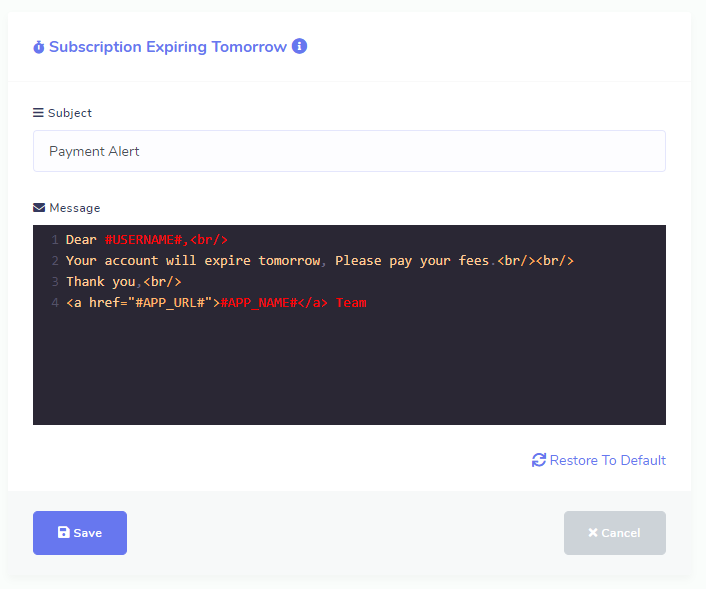
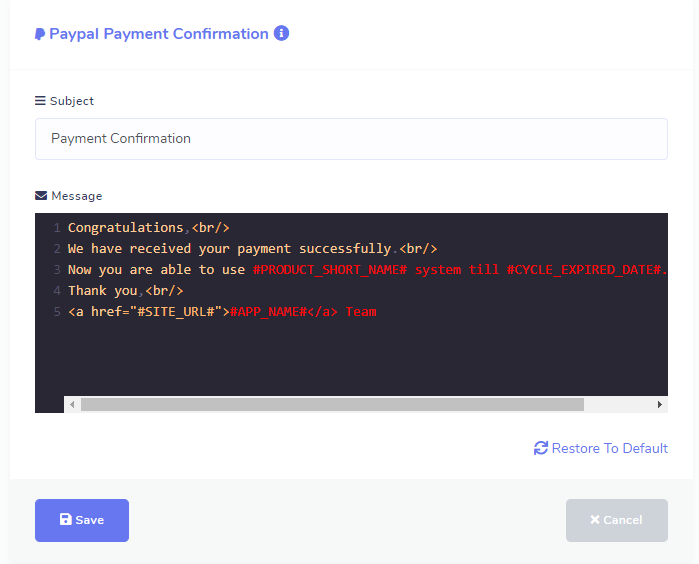
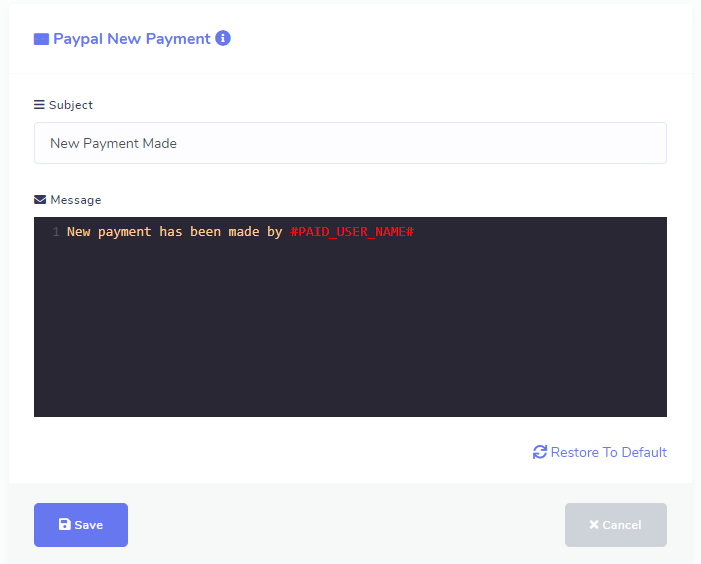
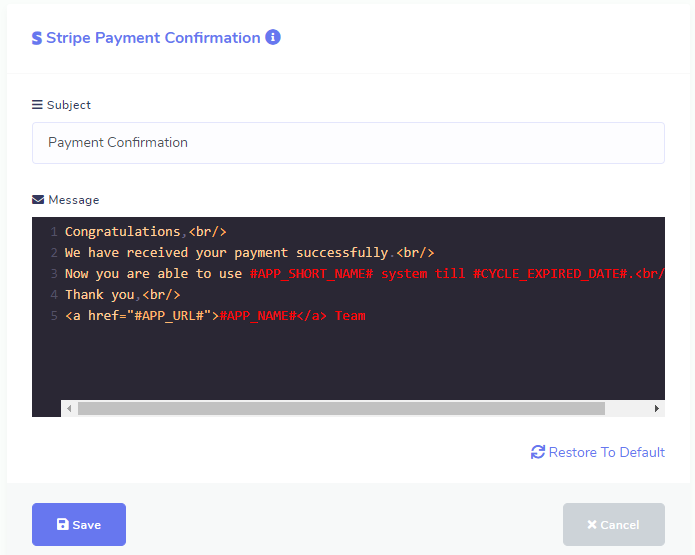
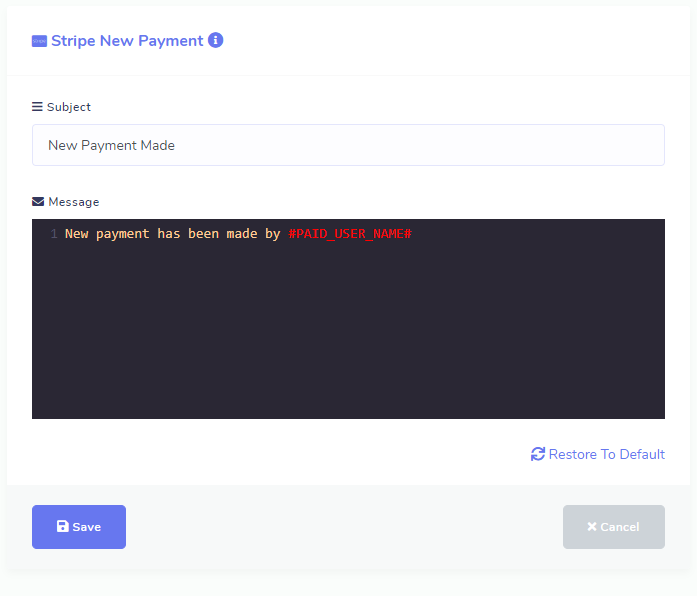
System sends several emails to users for different purposes. Here you can edit the email content to be sent. Some email templates are for extended license only.

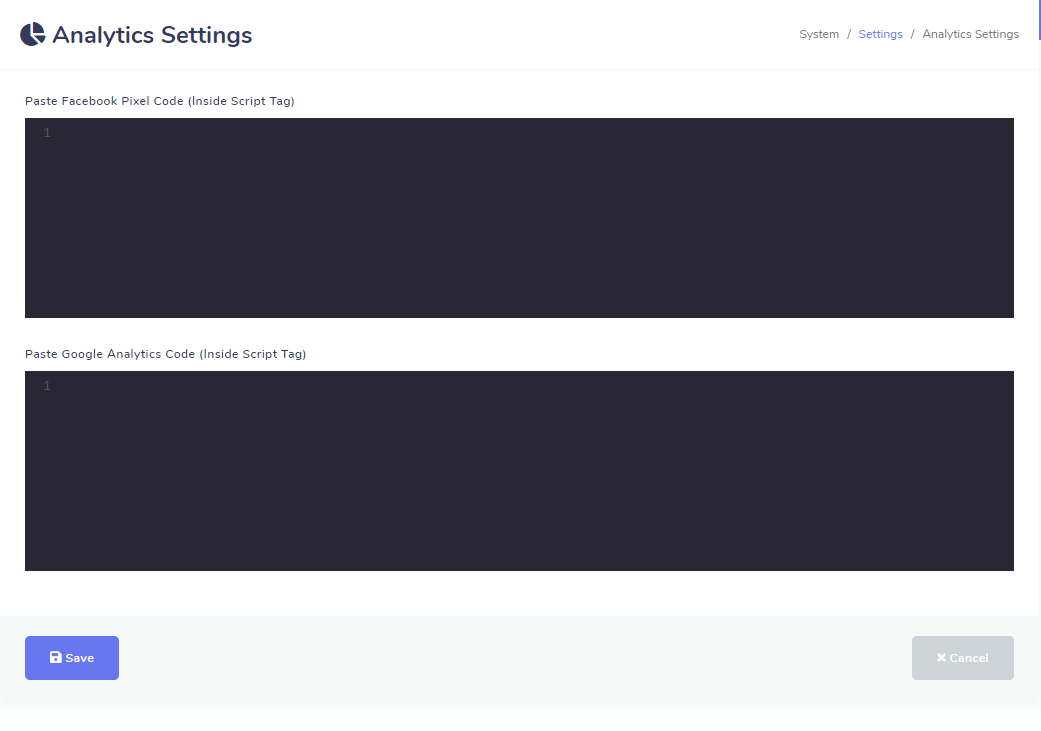
You may need to add analytics scripts like Google analytics or Facebook pixel code in landing page and login page to track visitors. Well we have sorted it out for you. Simply put the js scripts (with script tag) in the textarea and save and system will automatically embed them in landing page as well as login page. You can add multiple scripts in single textarea or can put other js in textarea rather than Google or Facebook scripts if you like.
The front end contains diffrent advertisement sections: 970x90 px ( large screen) / 320x100 px (small screen), 300x250 px (all screen), 300x250 px (all screen) and 300x600 px (large screen).
You can change the advertise here. You can also choose weather you want to show advertise or not.
If you choose to show advertise then write html code for each section, as for example you can add simply a html embedded inside a html tag or can add google adsense html code for each section.

This panel is for developers who want XeroSEO data be integrated with other cool stuffs. We have provided 19 nice and useful APIs. Every user will have his/her own API key. Usage of APIs are described under Native API menu of XeroSEO application.

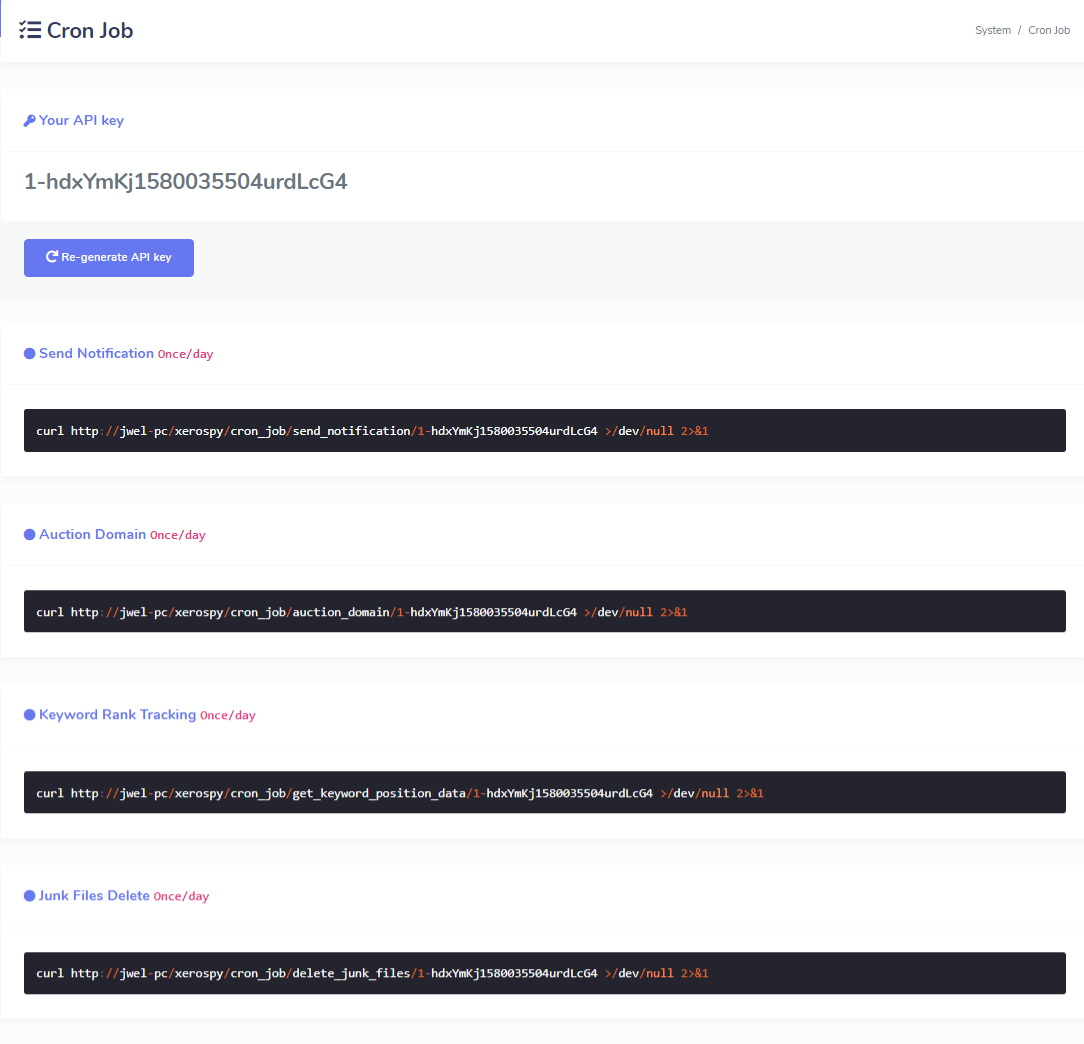
Here all the cron jobs need to setup on server are listed for your application. But first you have to generate api key for your application by clicking the Generate API Key. You can re-generate your applications api key any time but doing this will require to setup cron job on server again. When you mouse over on the cron job commands you will see a text copy on the right side and by clicking on that text you can copy that cron job.
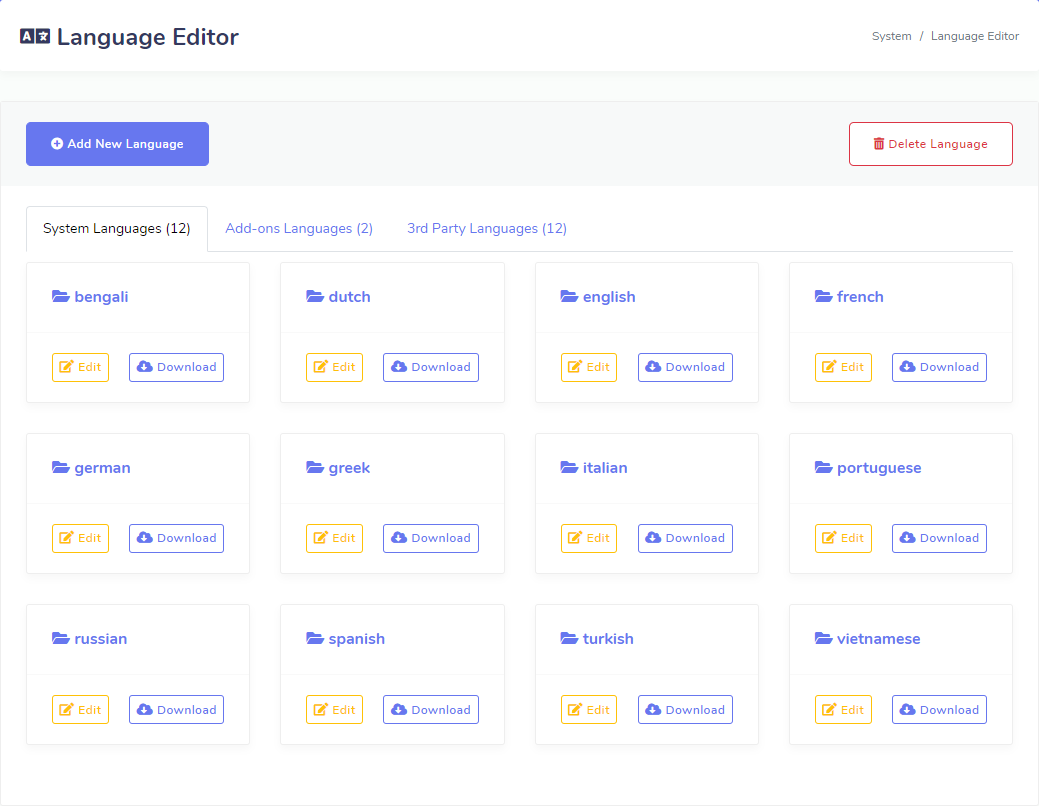
It comes with twelve language by default. But you may need to add your own language. So, we are offering you a way to add you own language and translate all the static text to your language.
In this section you will find all the languages comes with this applications. You can add your language by clicking the button Add New Language placed on the top. You can also delete your language if you fill necessary.
Next you have to translate the texts on your own language. There are three type of texts. System, Add-ons, 3rd Party. Choose a type and the click on the language you want to translate. After clicking a language you will be redirect on a page and you will find a list of all file. Then click it and a list of text will come in front of you. Now add your translation.
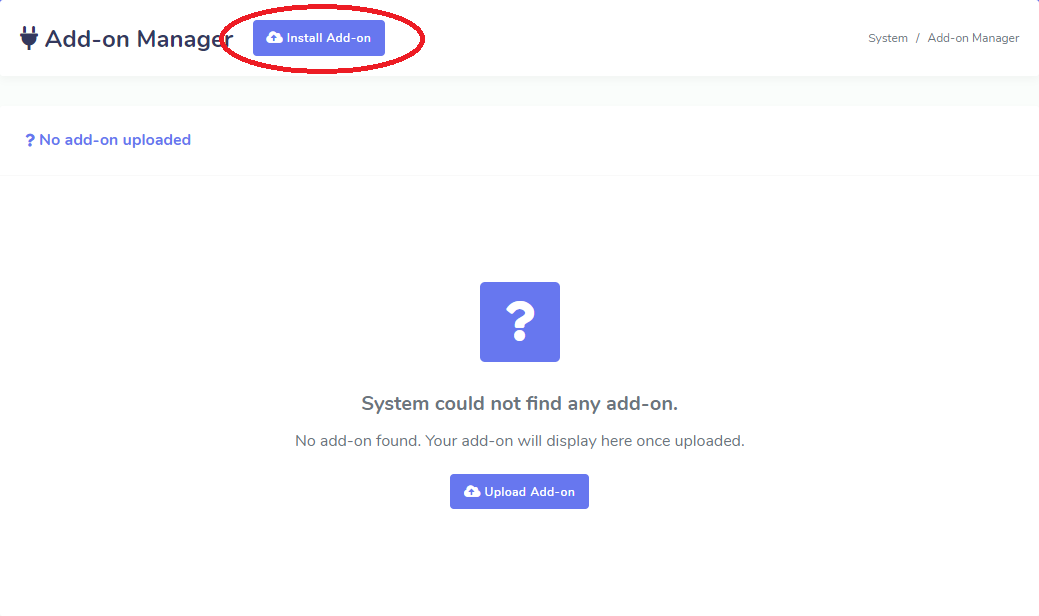
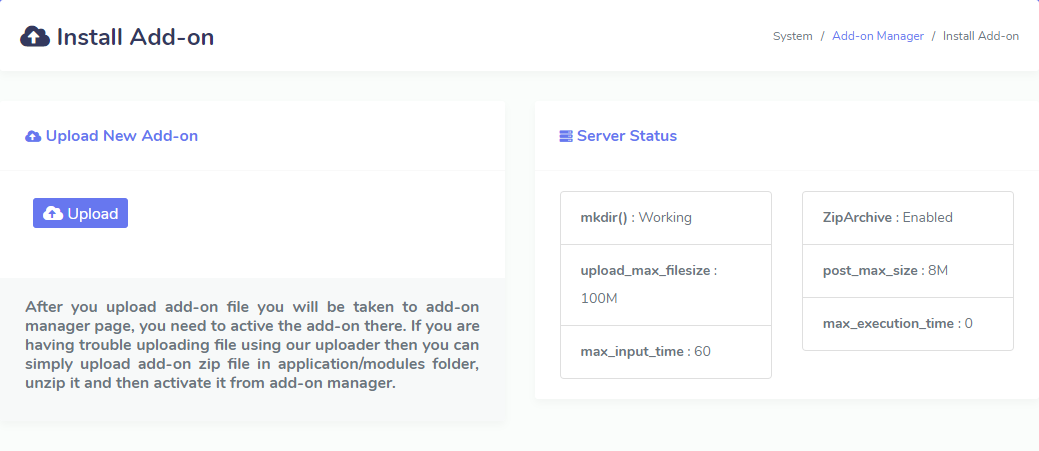
It has some greate add-ons. When you will want to install them then you have to go through this settings. If any add-on is installed then you will find all the installed add-ons here. You will find a button Install Add-on on the top of that page.
Click on it and you will be redirect to a page where you have to upload your add-on. Next you have to activate your add-on using your add-on purchase code. You can also delete add-on if you wish from the list
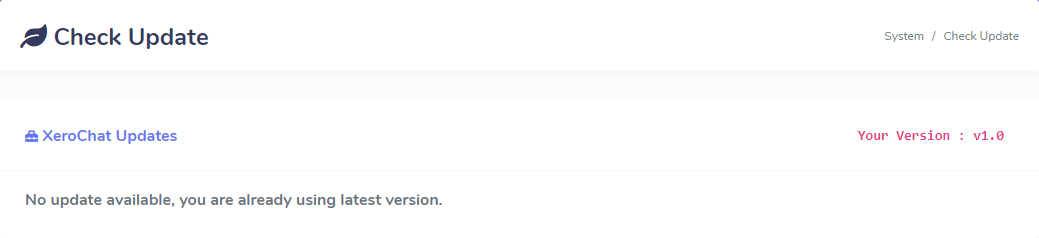
This section displays your application and add-ons versions. If any update is released from our end then you will see them here. You can update your application and add-ons from here.
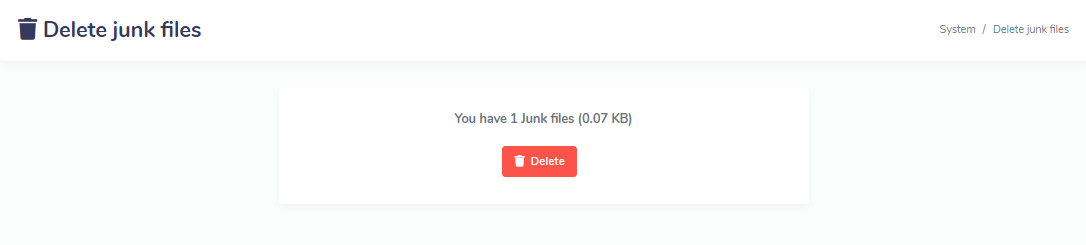
Its a SaaS pack. So, there will be many users. More users means more files (upload/download). To save server space we have arranged deletion of junk files.
Here you will find all the subscription related settings. This section is devided into six sub-section
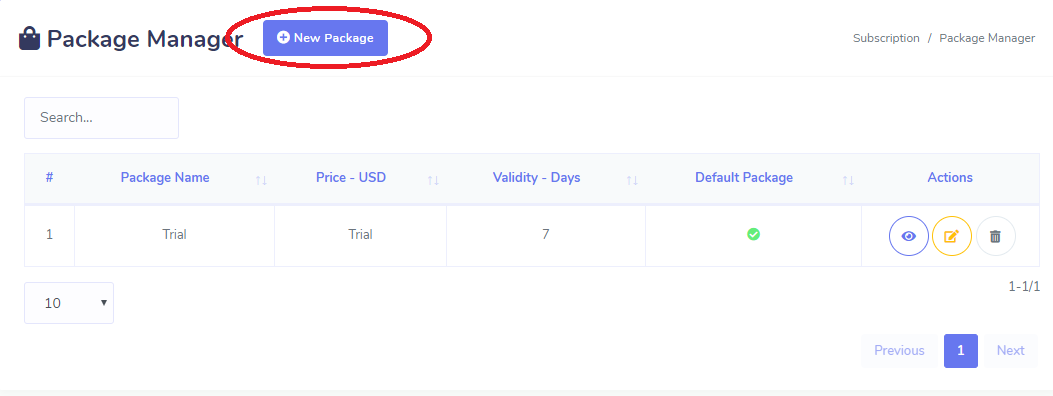
In this section you will find all the packages you have created so far. By default there is a "Trail" package. You can not delete this package. If you do not want a trial then edit deafult package's validity to 0 (zero). If you do not want to take money from users then edit the default package's price to "Free".
You can add your desired package by clicking the button New Package on this page. After clicking this button you will be redirected to another page where you will create your desired package for your user.
Fill the necessary information for createing a package and check the modules which will be included in your package. Here you will find some modules are checked by default and you can't uncheck them. You can aslo specify modules Usage Limit and Bulk Limit.
Suppose you want to create a package named "basic" which validity will be 30days, price will be EUR 10 and you want to assign specific modules for this package. In this case you are lucky!! You can add unlimited packages you want including price,validity and modules. You can also put monthly analysis limit each module when you create a package. While you assign limits, 0 (zero) means unlimited

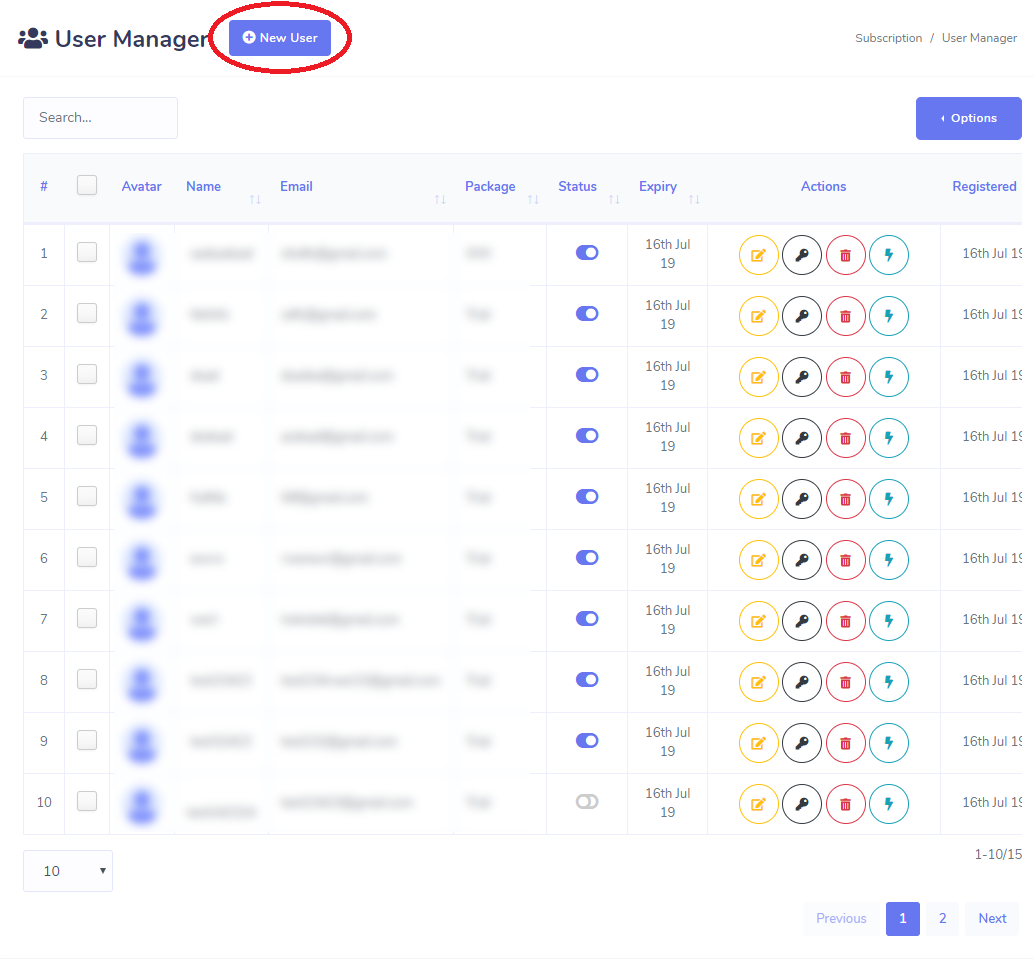
This section displays all the users on your application. There are various information about your user. You can edit, delete, change password and see all the activities of every users.
You can add new user by clicking the button New User on the top. When you will click this button you will be redirected on a new page. There you can create a new user by filling the necessary information. You can specify package and expiry date of a user when you create.
You can send mail to your users by selecting them from the list. This option will be found after clicking the Options button. This button is located on the top of the list of users. You can also see Login Log and System Dashboard (extended) by clicking corresponding button.
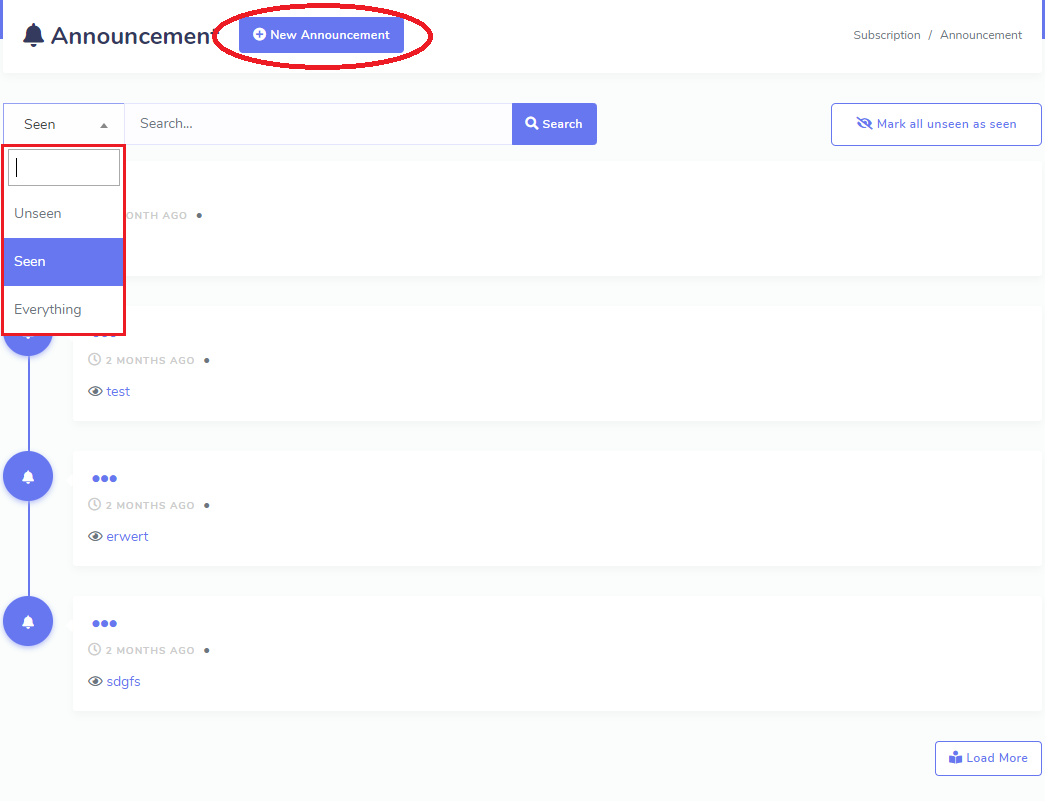
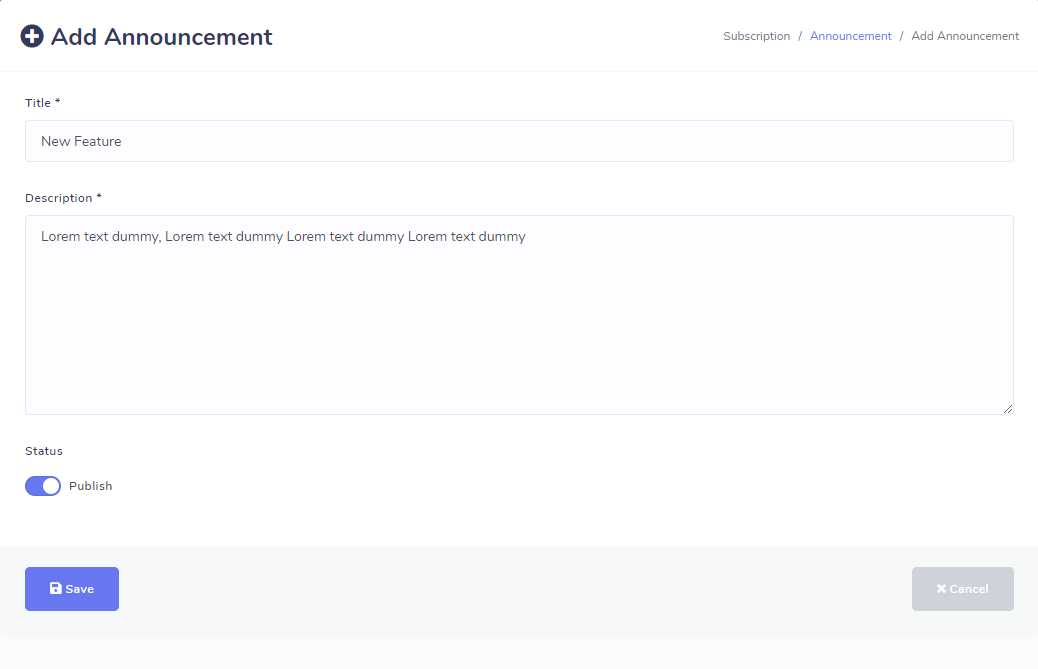
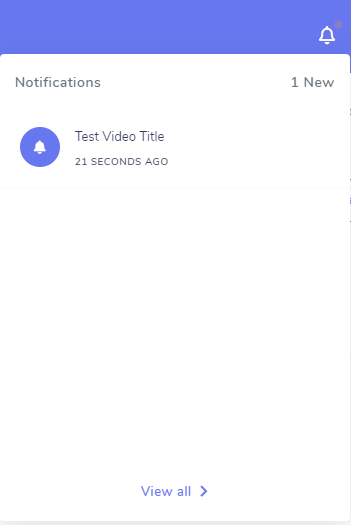
This section of your settings helps you to show notification to all your users using this system. You can create notification by clicking the button New Announcement on the top. This button will redirect you to a new page. There you can create a new notification. You can keep it published or as draft.
Here, you will also mark single anouncement as read or mark all the notifications as read. There are some filters and you can you can also search your notification
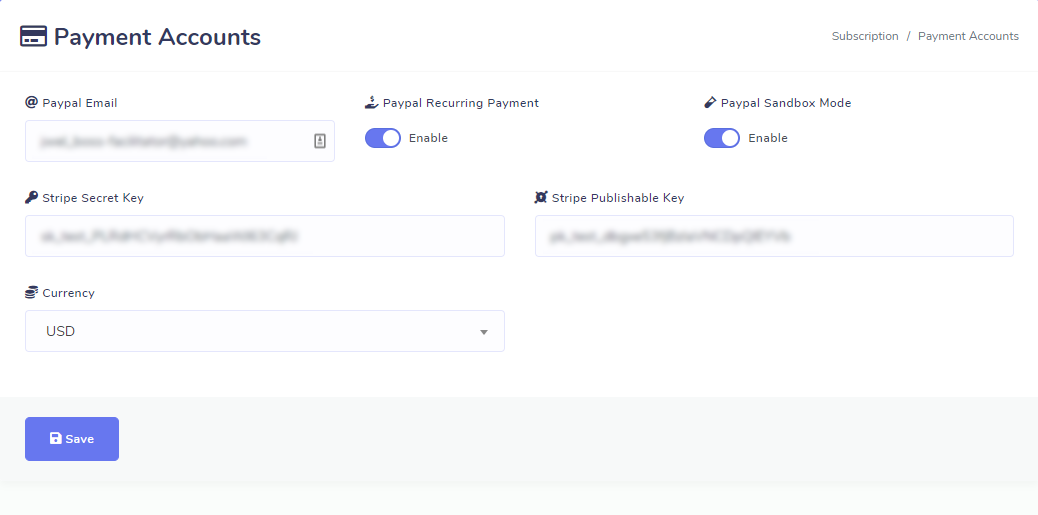
This is the place where you set your PayPal account / Stripe account or both and your currency. Your end users will pay to this PayPal account/ Stripe account. Paypal has recurring payment option. Make sure the paypal method is in live mode (disable sandbox) before you start selling using paypal.
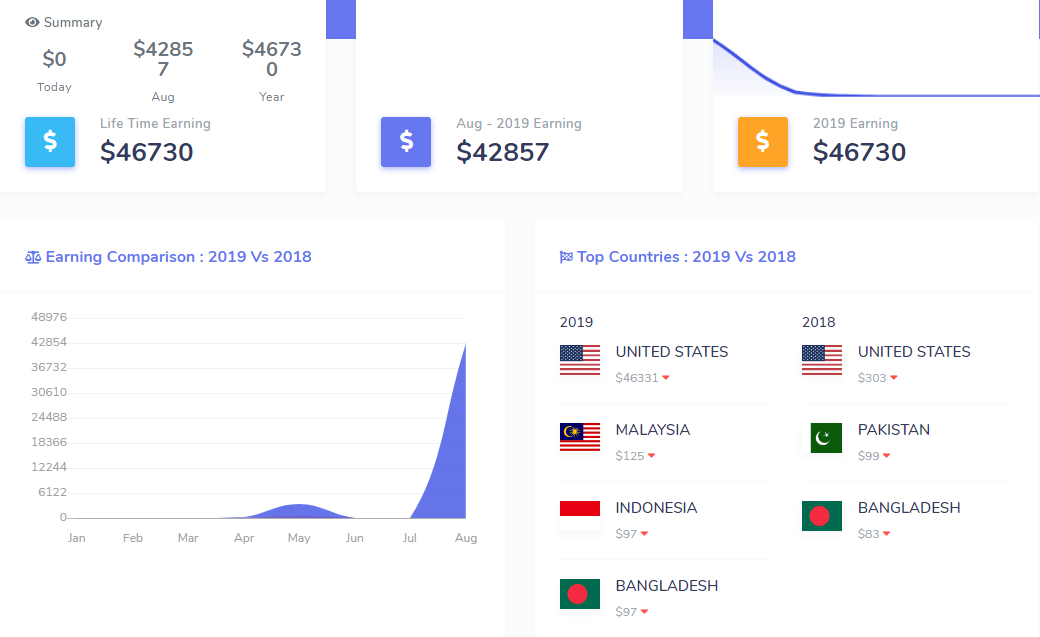
This section will show your earning summary. You can see your Life Time Earning, Current Month Earning, Current Year Earning, Earning comparison of consicutive last two years and Top countries of consicutive last two years.
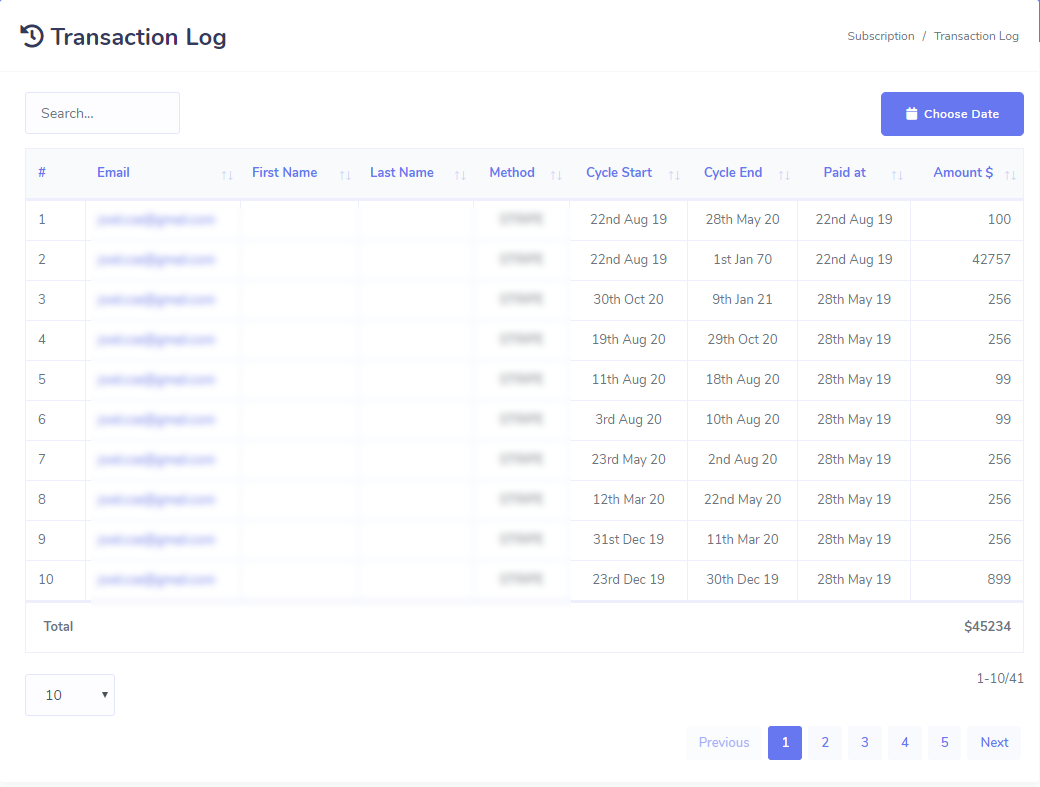
Here you will find all the transaction occured by your users. You can filter your result by choosing the date range by clicking the button placing on the top of the tansaction list named Choose Date
Social Apps & API Settings
In this section you will see list of all social apps like Facebook, Google also application connectivity settings & proxy settings. This section will help you to customize your social app settings.
Facebook
In this section you will see all your Facebook app settings. You can add a Facebook app settings by clicking the button Add New APP which is placed on almost on the top of this page.
Video Tutorial: Create Facebook App
Google
After entering this section you will find all the necessary settings of your current Google app. Change is as necessary.
Video Tutorial: Create Google App & Get API Keys
Connectivity Settings [Both Admins & Members]
XeroSEO has features of malware scan, MOZ ranking cheking and mobile ready checking, Social Network Analysis,URL Shortener These five features need some other parameters to work (MOZ Access ID, MOZ Secret Key, Google API Key,Virus total key,Bitly generic access token, Rebrandly API Key )
MOZ Access ID & MOZ Secret Key:
To get MOZ access ID and MOZ secret key you have to open an account visitng https://moz.com/community/join Second step is to generate Access ID and API key. So after signup login to MOZ and visit: http://moz.com/products/api/keys Click “Generate Secret Key” in the box below and your data will be generated.
Video Tutorial:How To Get MOZ Access ID & MOZ Secret Key
VirusTotal API Key
In latest version we have added a new security tools named VirusTotal that runs 67 different scans. To get your VirusTotal API Key follow the video tutorial
Video Tutorial: How To Get Virus Total API Key
Video Tutorial: How To Get Bitly Generic Access Token
Video Tutorial: How To Get Rebrandly API Key
Proxy Settings [Both Admins & Members : System will use admin's settings if end users do not provide]
Several XeroSEO features need proxy to work. As an admin you can set proxy for yourself as well as for your end users. Your end users (non admin users) will also can add their own proxy. we recommended this site for proxy https://instantproxies.com/